
Photoshop lesson 1 (Create a 3-D picture)
A while ago while making the banner for my blog I noticed something cool. I produced something remotely similar to a 3-D image. I refined the process and documented it for a lesson.
1.
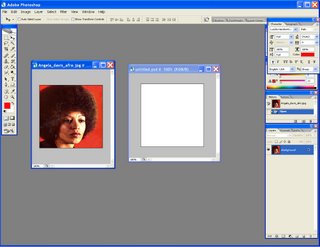
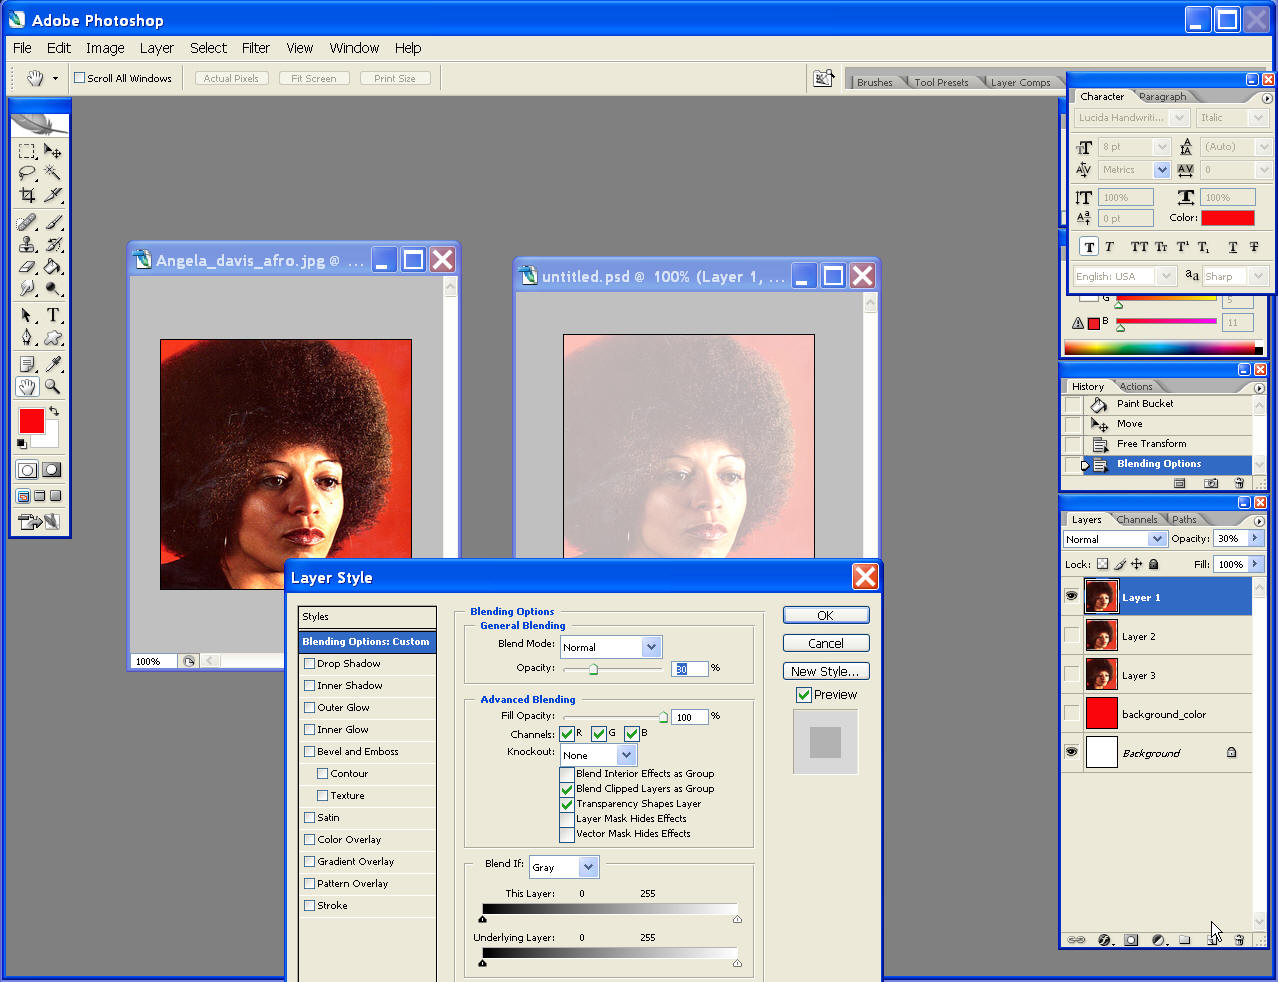
-I opened two images
-The first one the ORIGINAL IMAGE and the second one a PHOTOSHOP (psd) document of the same size as the original
 2. Next, drag layers from the original image to your empty canvas....about 3-5 layers will do; depending on how trippy you want the picture to be. Postion the layers exactly above each other.
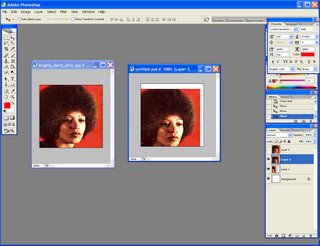
3. Create a new layer (shift+ctrl+n) and paint it about the same background color as your image using the Paint Bucket tool.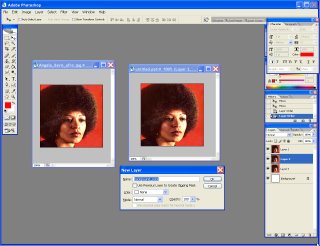
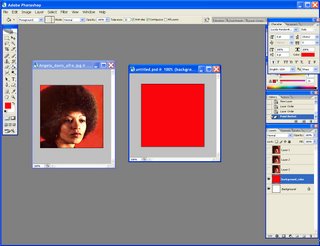
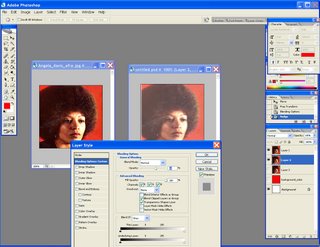
4. After positioning the layers in order, open the Layer properties menu and go to BLENDING OPTIONS. Give the first layer an OPACITY of 25% if you have 4 layers; I had 3 layers and therfore gave mine an OPACITY LEVEL of 30% instead.
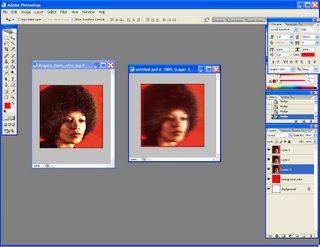
After playing with the OPACITY, move the layers around a bit to create the effect.
-Move the bottom layer about six spaces right using the right arrow key
-Move the second layer about four spaces
-Move the top layer about two spaces
-Last of all....experiment and make it your own, move it around..do something
Anywho..HERE ARE THE IMAGES IN SUCCESION.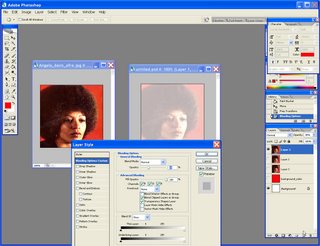
5. Finished Image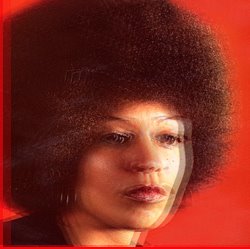
1.
-I opened two images
-The first one the ORIGINAL IMAGE and the second one a PHOTOSHOP (psd) document of the same size as the original
 2. Next, drag layers from the original image to your empty canvas....about 3-5 layers will do; depending on how trippy you want the picture to be. Postion the layers exactly above each other.
3. Create a new layer (shift+ctrl+n) and paint it about the same background color as your image using the Paint Bucket tool.


4. After positioning the layers in order, open the Layer properties menu and go to BLENDING OPTIONS. Give the first layer an OPACITY of 25% if you have 4 layers; I had 3 layers and therfore gave mine an OPACITY LEVEL of 30% instead.
After playing with the OPACITY, move the layers around a bit to create the effect.
-Move the bottom layer about six spaces right using the right arrow key
-Move the second layer about four spaces
-Move the top layer about two spaces
-Last of all....experiment and make it your own, move it around..do something
Anywho..HERE ARE THE IMAGES IN SUCCESION.


5. Finished Image
posted by claudius_max at 4:15 PM
![]()


0 Comments:
Post a Comment
<< Home